Your Complete Printer Setup Guide: Photosmart, Officejet, Envy, and LaserJet

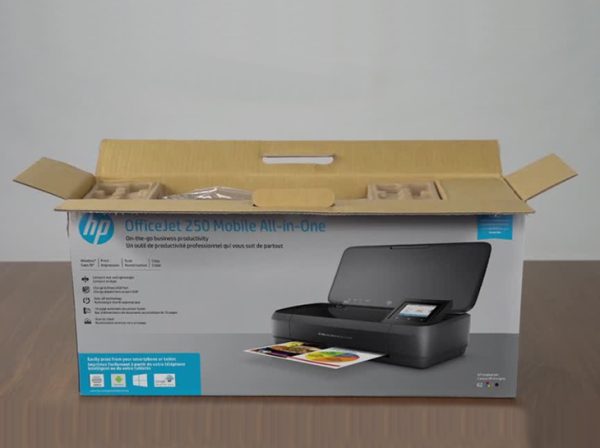
Setting up your new printer doesn’t have to be complicated. Whether you’re trying to install, add, or connect a Photosmart, Officejet, Envy, or LaserJet printer, this step-by-step guide will help you get started quickly and easily. Here’s everything you need to do to set up your printer for seamless printing.

Step 1: Unpack & Prepare Your Printer

Start by carefully unboxing your printer and removing all protective materials, tapes, and packaging.

Place the printer on a flat and stable surface near a power outlet and within WiFi range.

Connect the power cable and turn on the printer. Wait until the printer is fully initialized before moving forward.

Step 2: Install Printer Drivers & Software

To ensure proper functionality, install the correct drivers for your printer.

You can download the latest drivers from the official manufacturer’s website or use the setup CD if provided.

Follow the on-screen instructions and keep your internet connection active during installation for updates.

Step 3: Connect Your Printer to WiFi

Wireless setup allows you to print from any device easily.

  • Open your printer’s control panel
  • Go to Wireless / Network Settings
  • Select your WiFi network
  • Enter the password and confirm

Once connected, your printer is ready for wireless use.

Step 4: Add Printer to Your Device

Now connect your printer to your computer or laptop.

For Windows:

  • Open Settings
  • Go to Devices > Printers & Scanners
  • Click Add a Printer
  • Select your printer and complete setup

For Mac:

  • Open System Settings
  • Go to Printers & Scanners
  • Click Add Printer (+)
  • Select your printer and add it

Step 5: Print a Test Page

Testing ensures everything is working correctly.

For Windows:

  • Go to Control Panel > Devices and Printers
  • Right-click your printer
  • Select Printer Properties
  • Click Print Test Page

For Mac:

  • Open Printers & Scanners
  • Select your printer
  • Click Options & Supplies
  • Print a test page

If the print is clear, your setup is successful.

Step 6: Troubleshoot Common Issues

  • 🔌 Check power and cable connections
  • 📶 Reconnect printer to WiFi
  • 🖨️ Set your printer as default
  • 🔄 Restart printer and computer
  • ⬆️ Update or reinstall drivers
  • 🔒 Temporarily disable firewall/antivirus if blocking connection

Step 7: Start Printing & Enjoy

Your printer is now fully set up and ready to use.

You can start printing documents, photos, or anything you need—whether for work, study, or personal use.

Enjoy smooth and hassle-free printing with easy setup guidance.

Usefull Links

Address

© Copyright 2026 | All rights reserved | Myprinterfix